Step-by-Step Instruction Guide
This guide will hopefully provide clear, concise steps to help you complete the attachment of your Gamo/BSA Picatinny Rail. Each step is designed to be easy to follow, ensuring that you can achieve the end result without issues.
Step 1
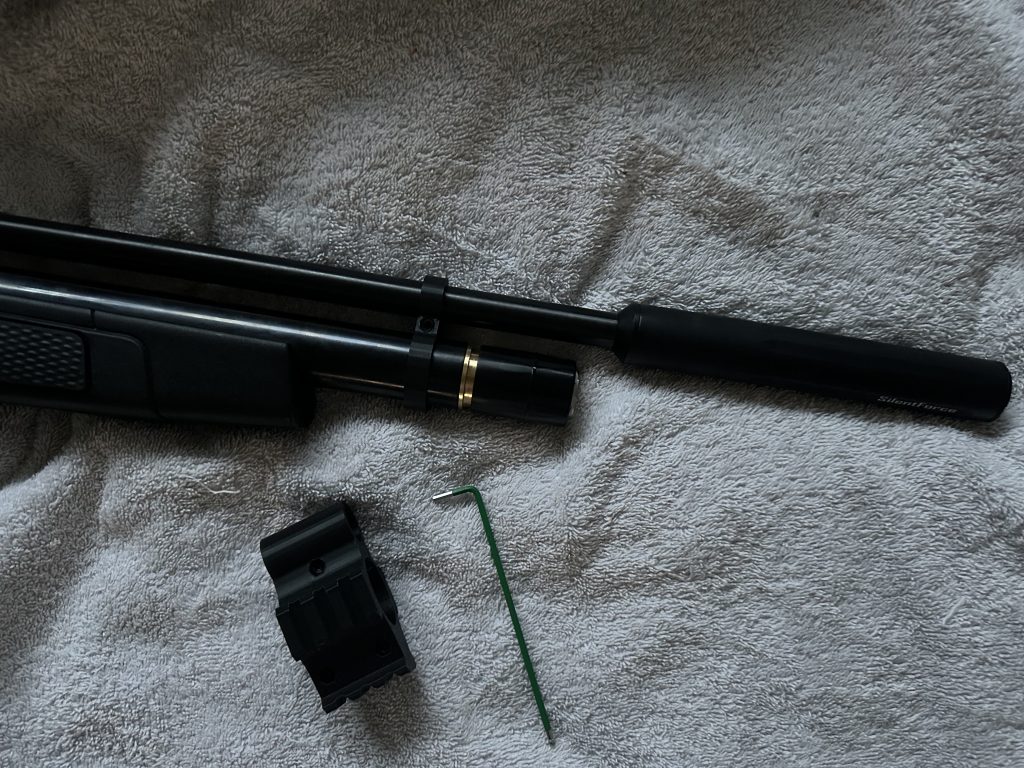
The parts and tools required
H2.5 Hex Key – for the picatinny attachment screws
Please note I used my custom barrel band so the H2.5 was needed you might require a different Hex Key for removing the barrel band.
For this step by step I’ll be using my Gamo Coyote
Step 2
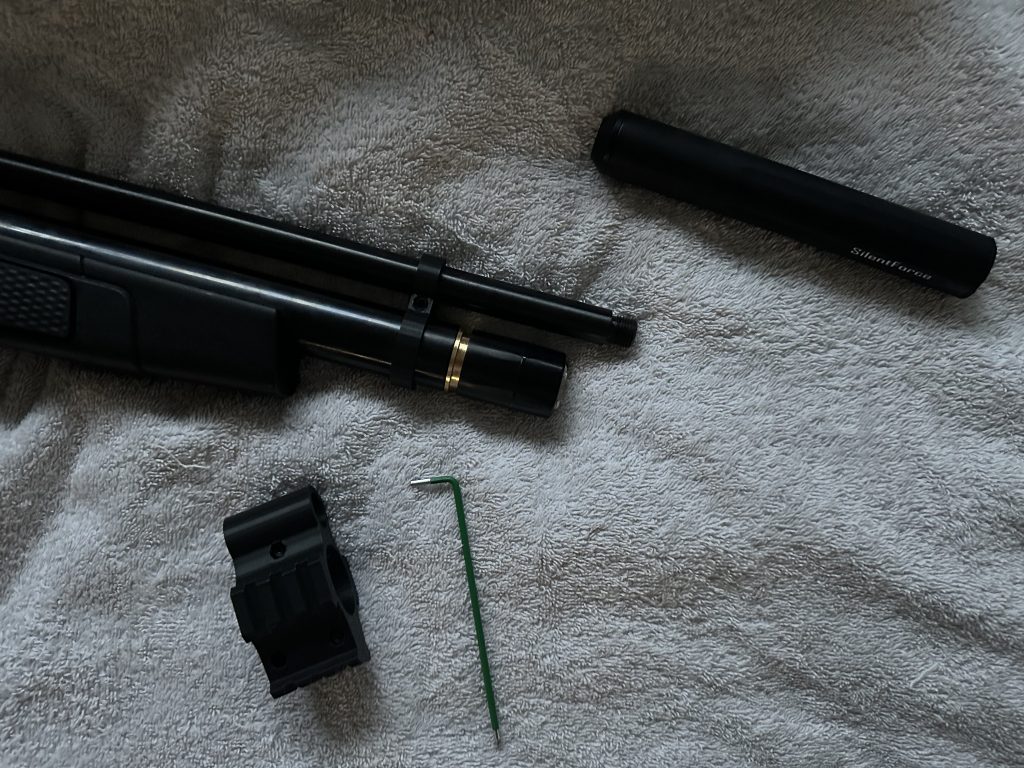
Remove any moderators you may have attached to your Gamo/BSA Rifle.
Step 3
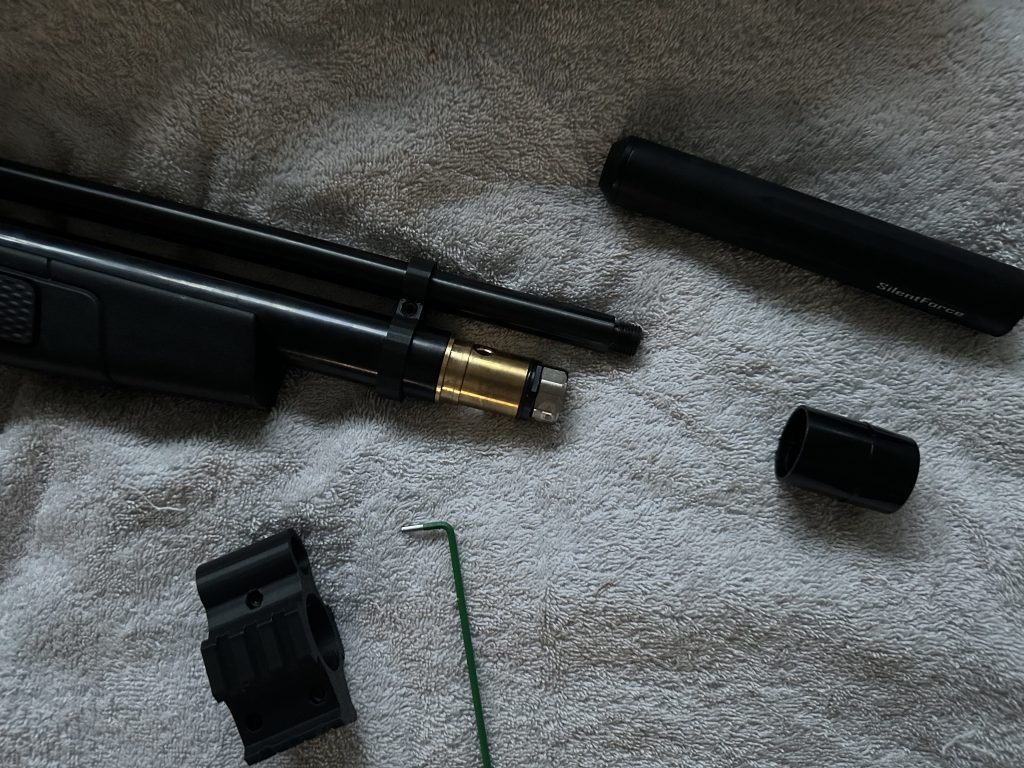
Remove the fill port cover.
Step 4
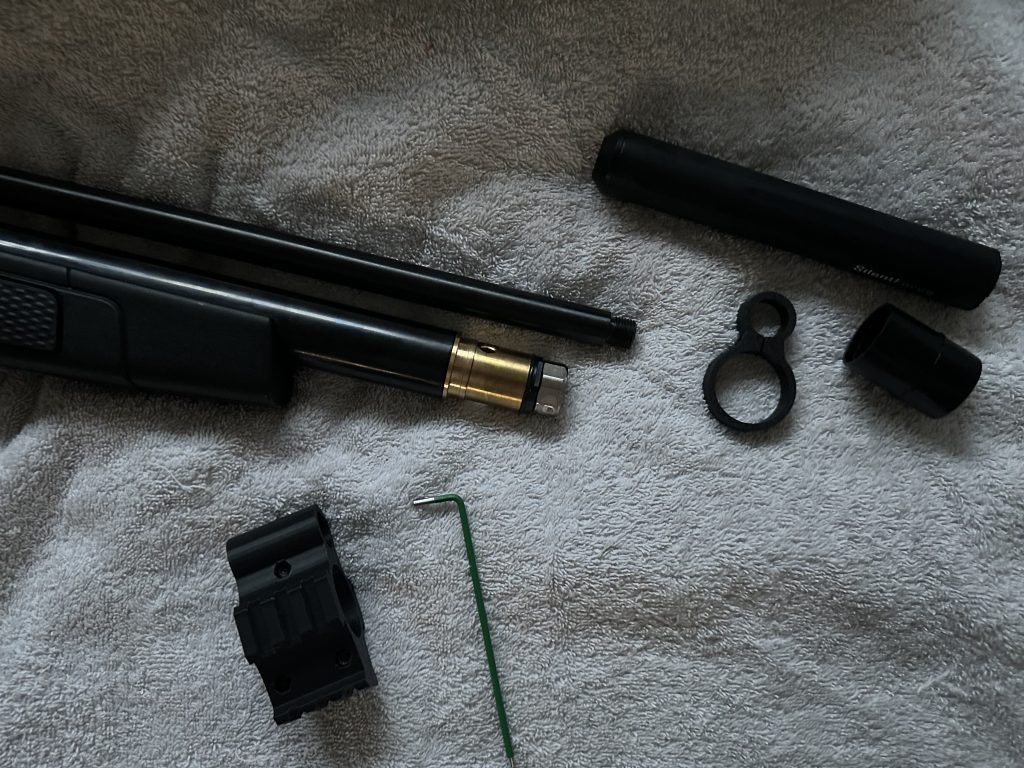
Remove the barrel band from your rifle my step process used the H2.5 Hex Key as I use the one I created which is better than the manufacture version.
Step 5
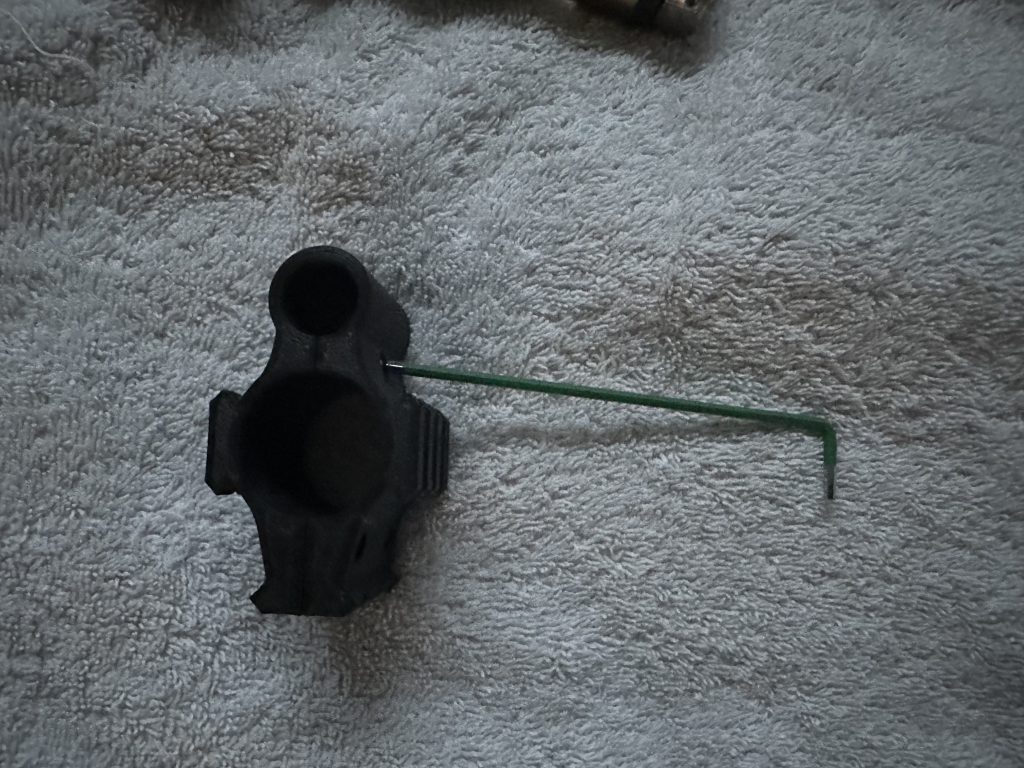
using the H2.5 Hex Key slightly loosen the bolts inside of the picatinny attachment you will need to loosen three.
Step 6
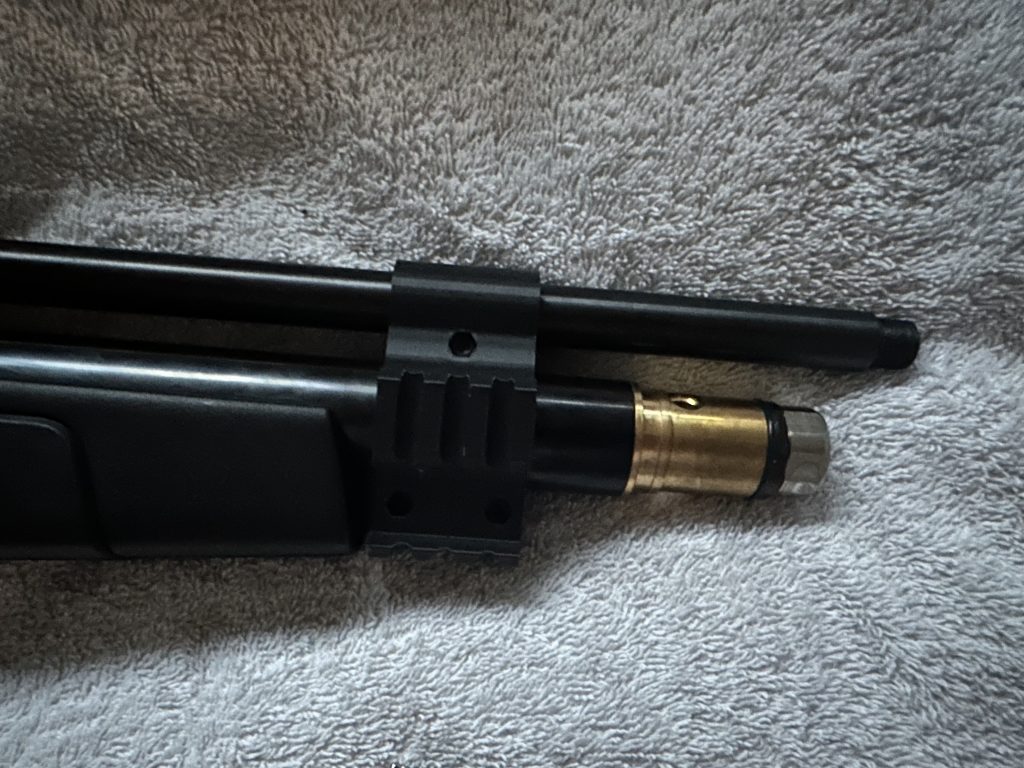
Place the attachment onto the rifle in your desired location, using this attachment means you can put the barrel band back on optionally if you are using the manufacture variation.
Step 7
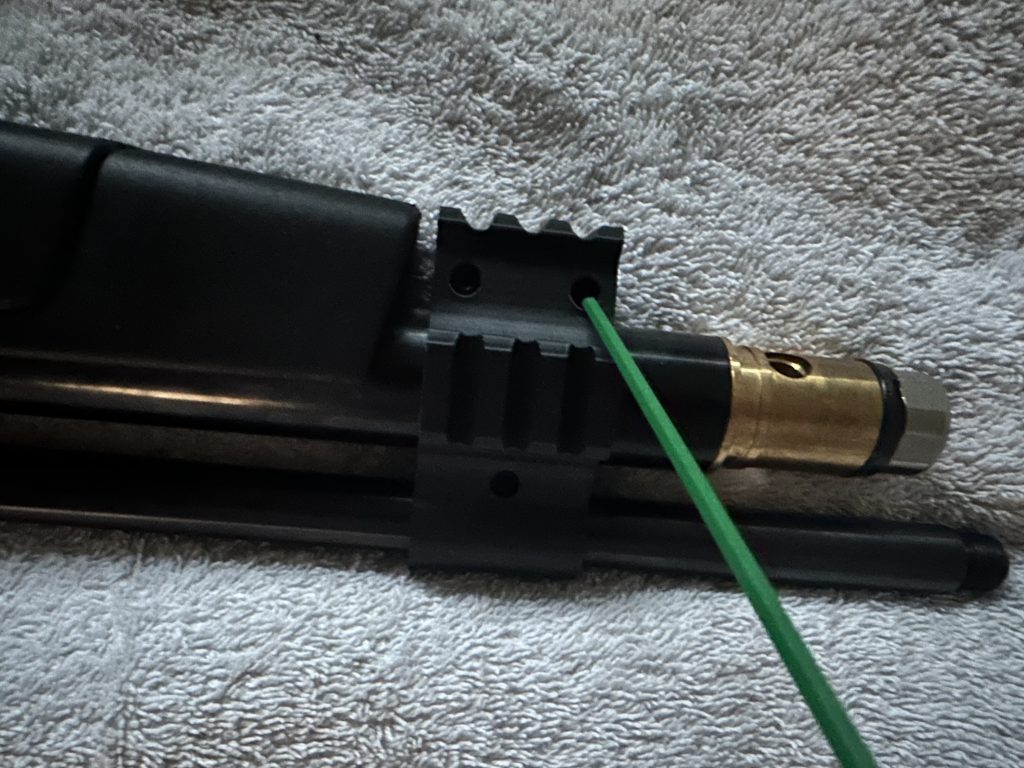
Once fitted in your desired location tighten the bolts using a H2.5 Hex Key to secure it in place.
Step 8
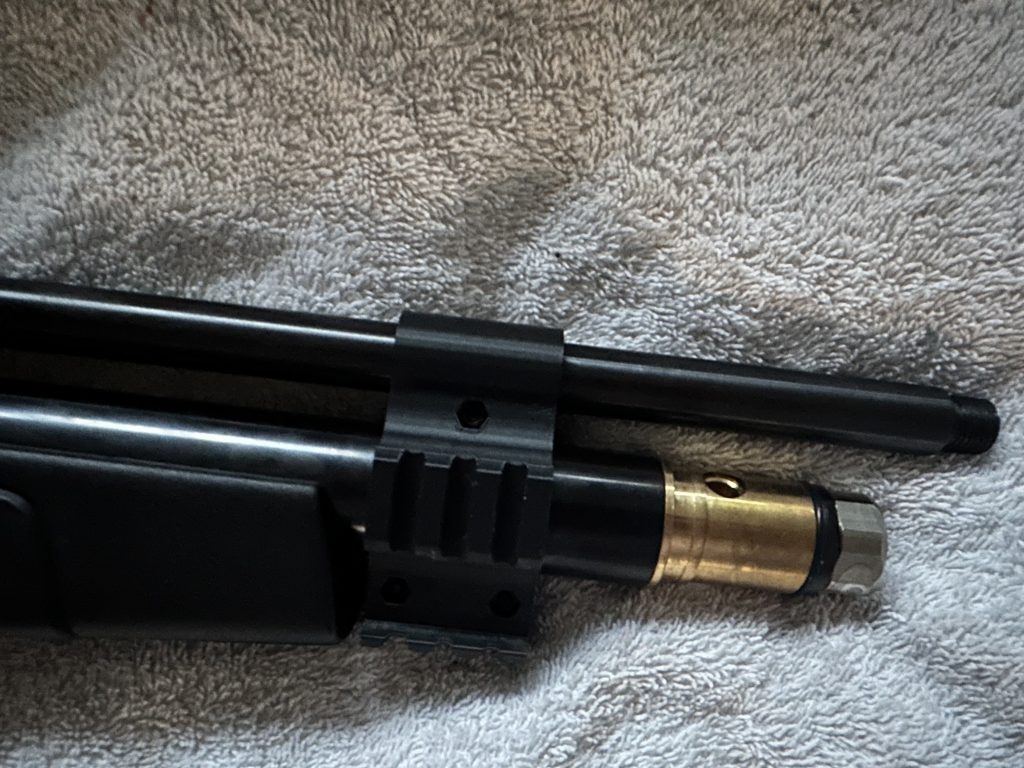
when you have tightened all the bolts up give it a quick tug to make sure it doesn’t move be careful not to over tighten the bolts.
Step 9 (Optional if using manufacture barrel band)
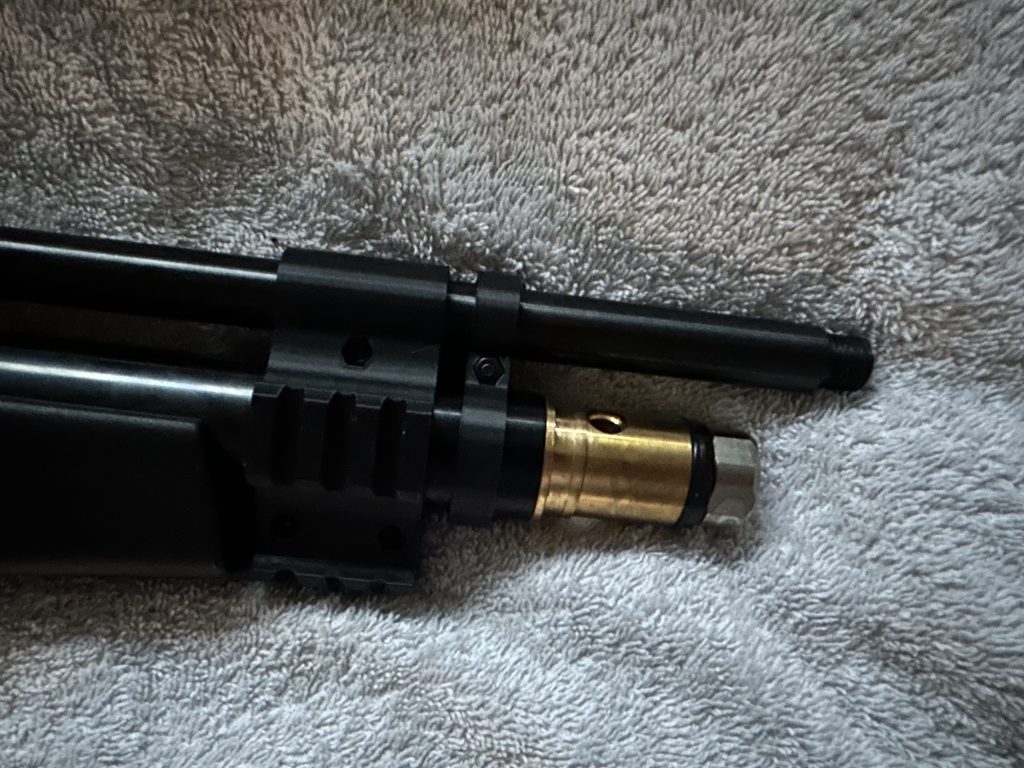
if using the original manufacture barrel band this step is optional as they do have issues in general but if using my improved variation I would suggest install with a slight gap of the picatinny attachment as shown above.
Step 10
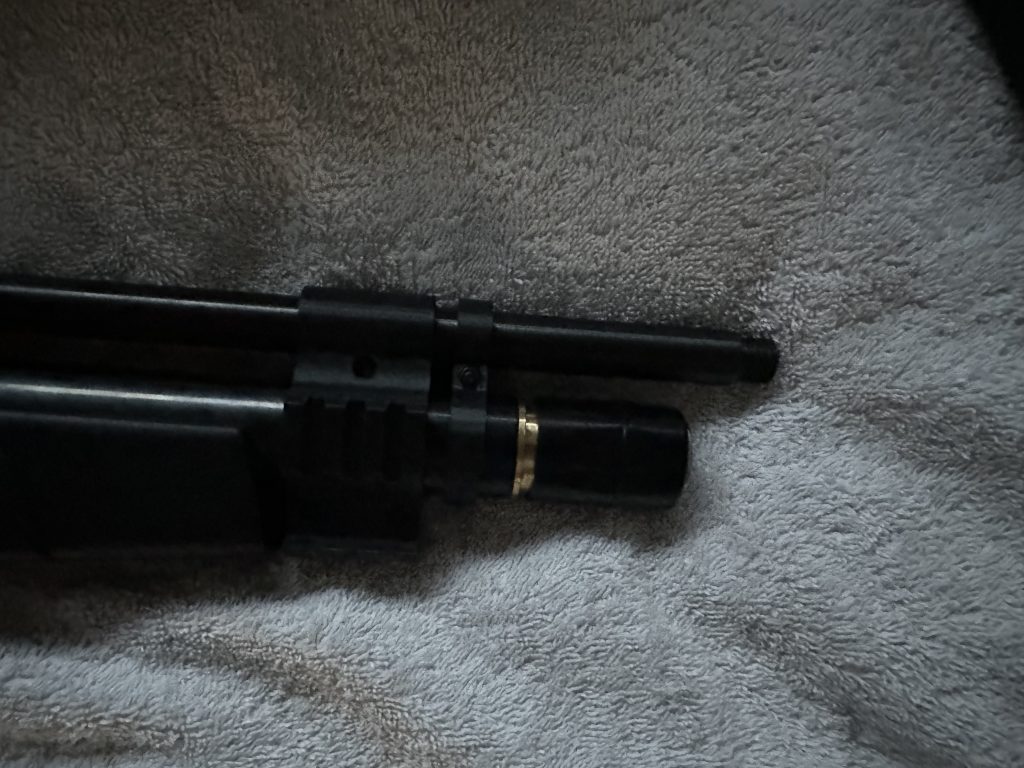
Pop the fill port cover back on.
Step 11
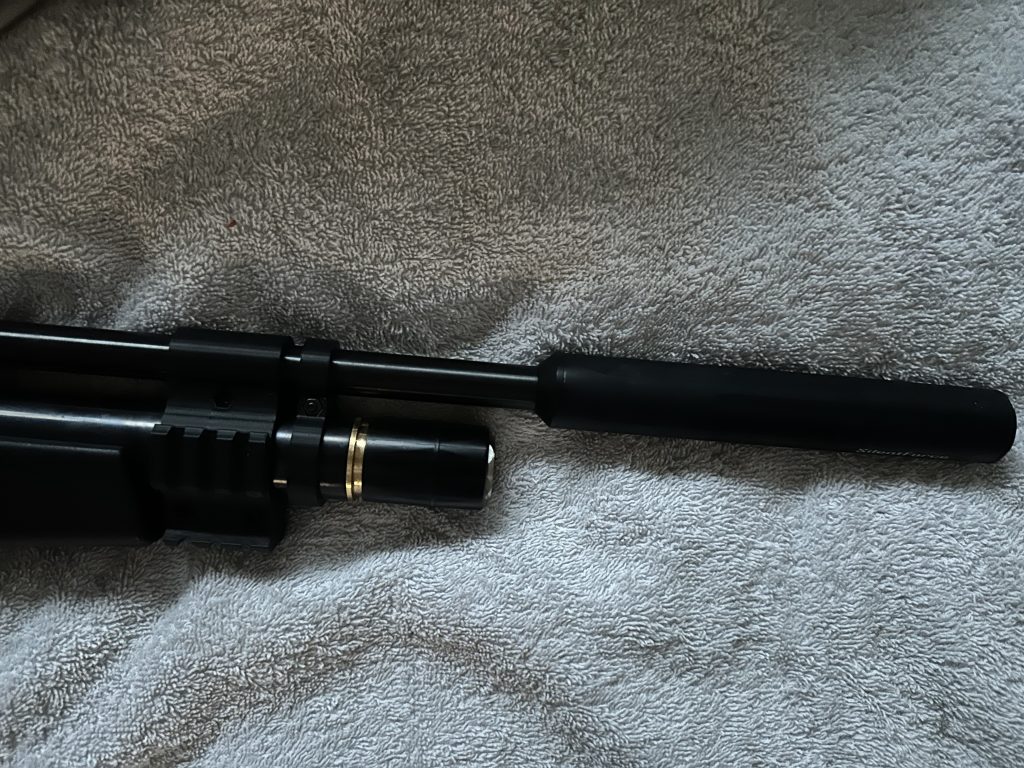
Reattach any moderators.
Step 12
Add your attachments and you are all good to go with attaching your new Gamo picatinny rail system.
Hopefully this quick step by step managed to get you through the process smoothly and without issues.