Step-by-Step Instruction Guide
This guide will hopefully provide clear, concise steps to help you complete the attachment of your Crosman Picatinny Rail. Each step is designed to be easy to follow, ensuring that you can achieve the end result without issues.
Step 1
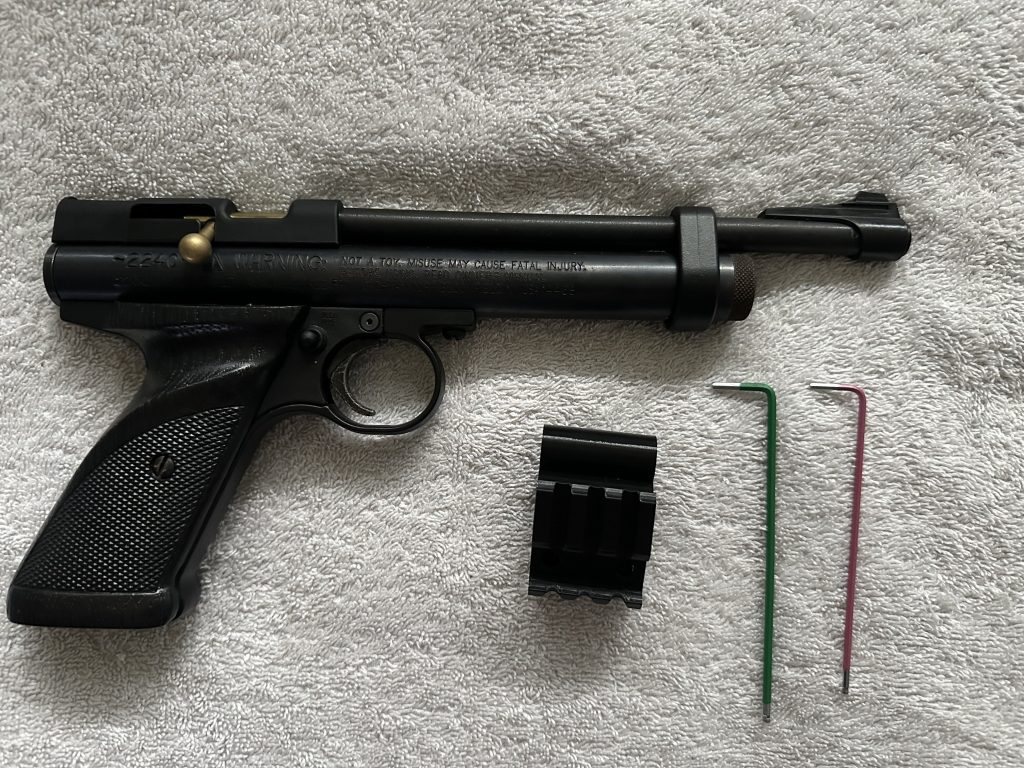
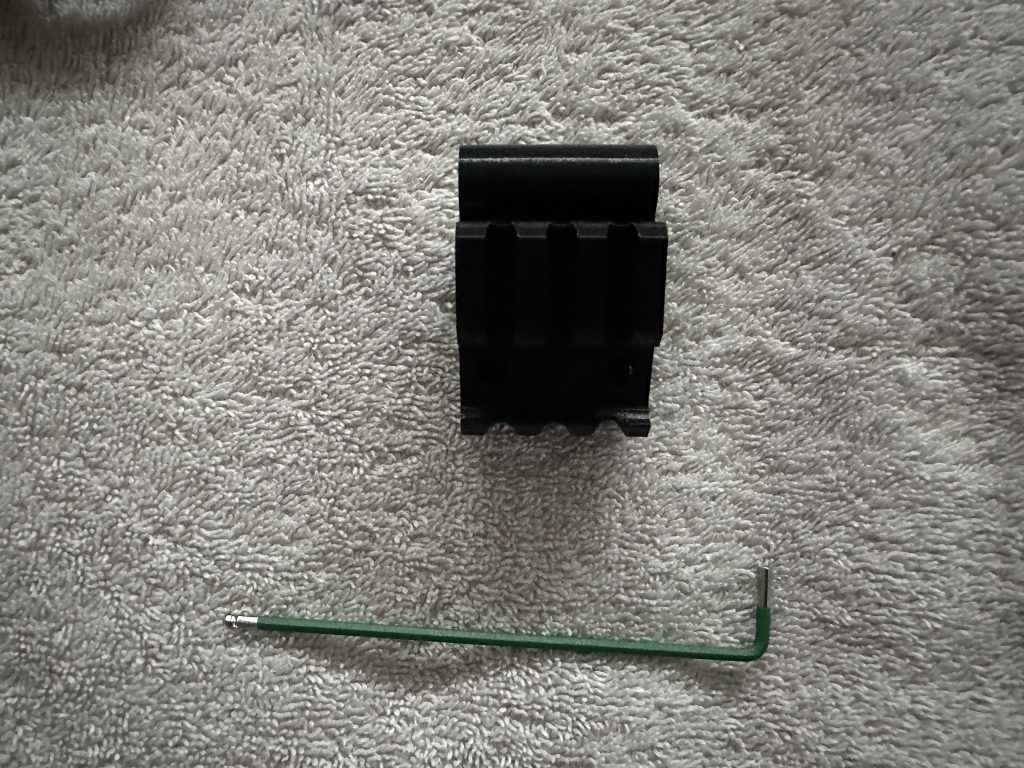
The parts and tools required include
H2.0 Hex Key – for removing barrel band grubs
H2.5 Hex Key – for the picatinny attachment screws
Step 2
Set aside the picatinny and H2.5 Hex Key as they will be needed further along
Step 3
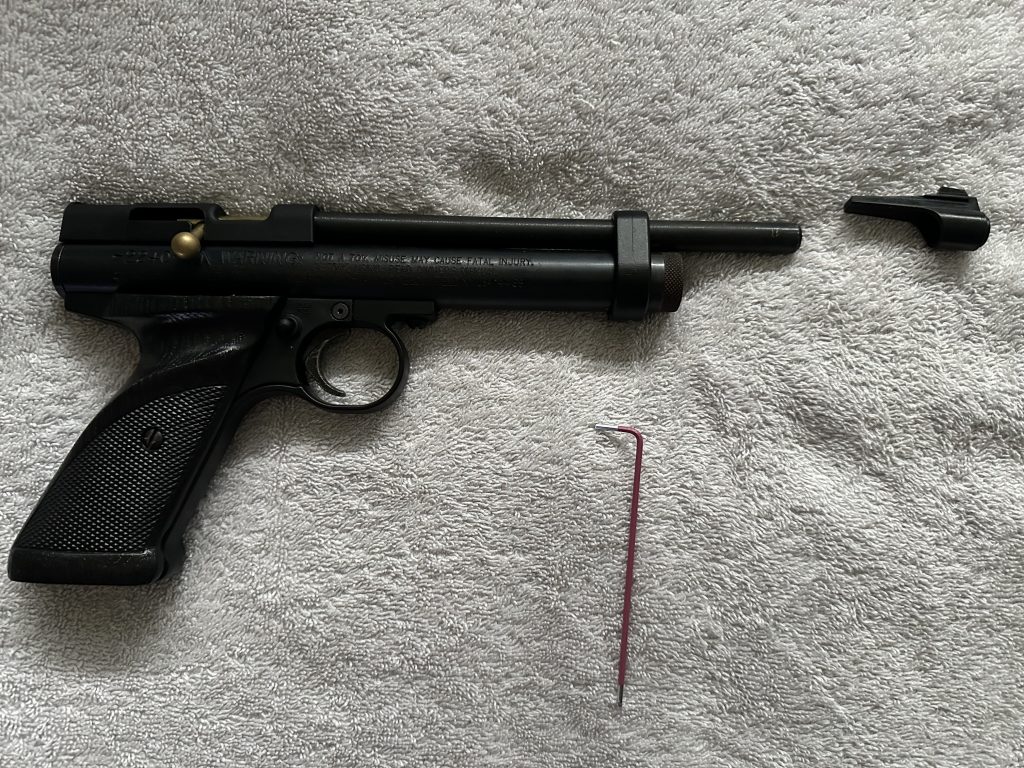
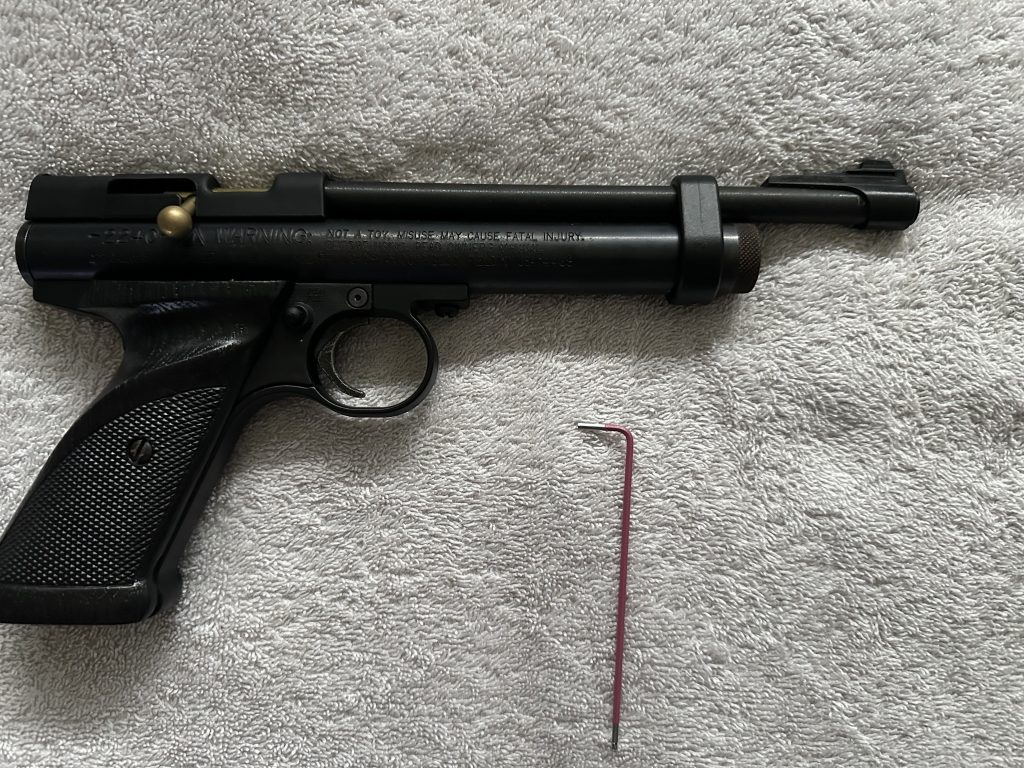
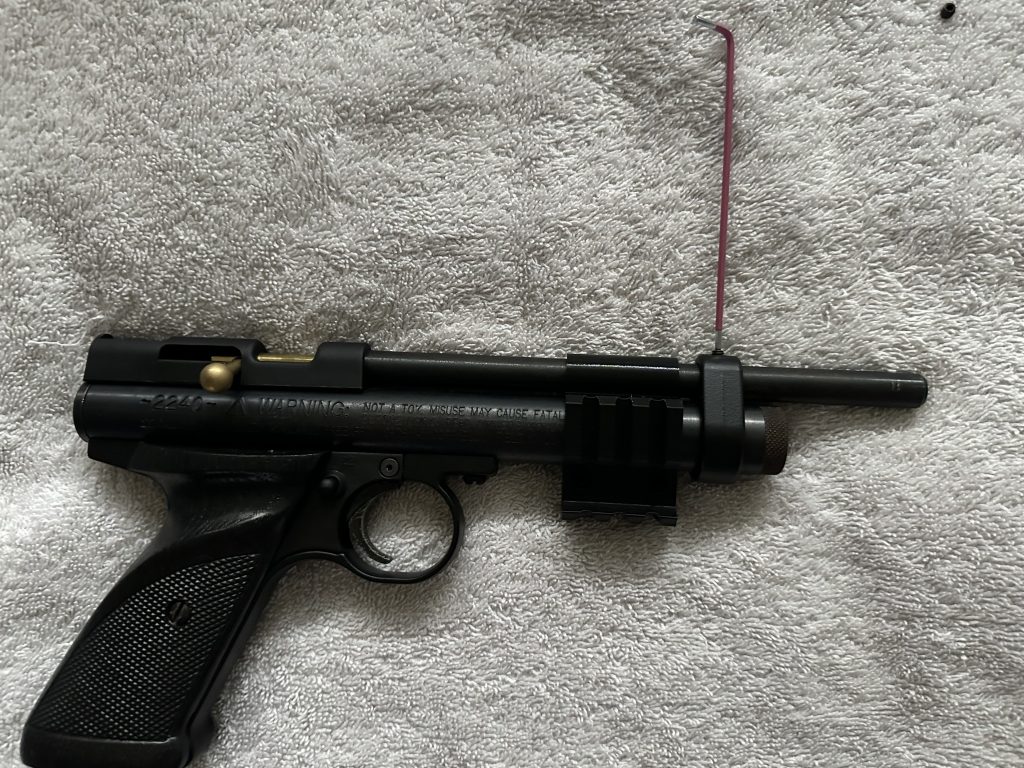
Remove the foresight this can be stiff and easiest method is giving it a bang or pulling with force.
Step 4
Start by removing the grub screws securing the barrel band in place
Step 5
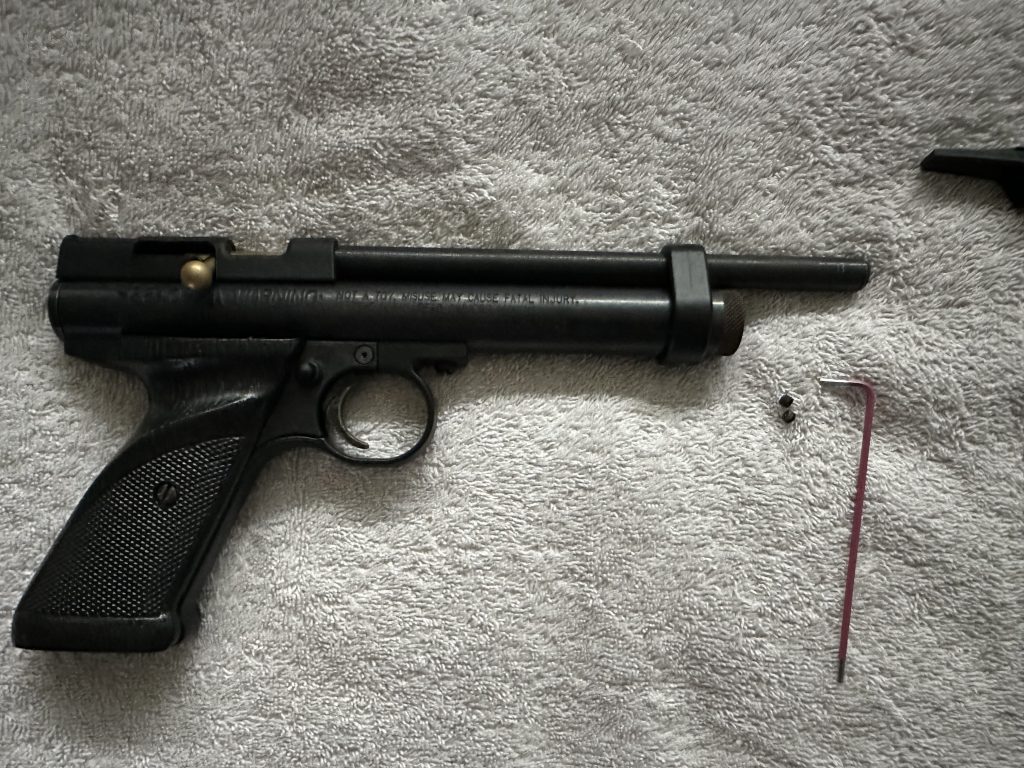
Set the grub screws to the side as it is optional if you want to reuse the included barrel band for addition fitting but it is not required.
Step 6
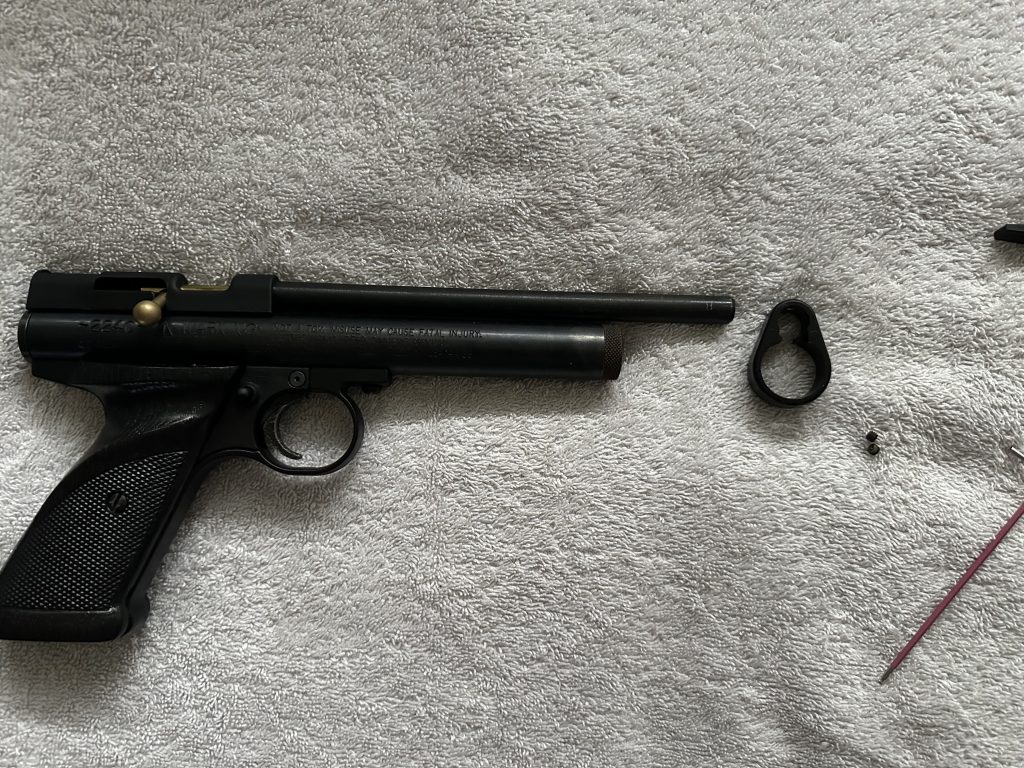
You can now remove the barrel band and set it alongside the grubs you removed once again it is optional to reinstall after but not required it is entirely your own choice.
Step 7
The picatinny attachment itself will require the use of a H2.5 Hex Key
Step 8
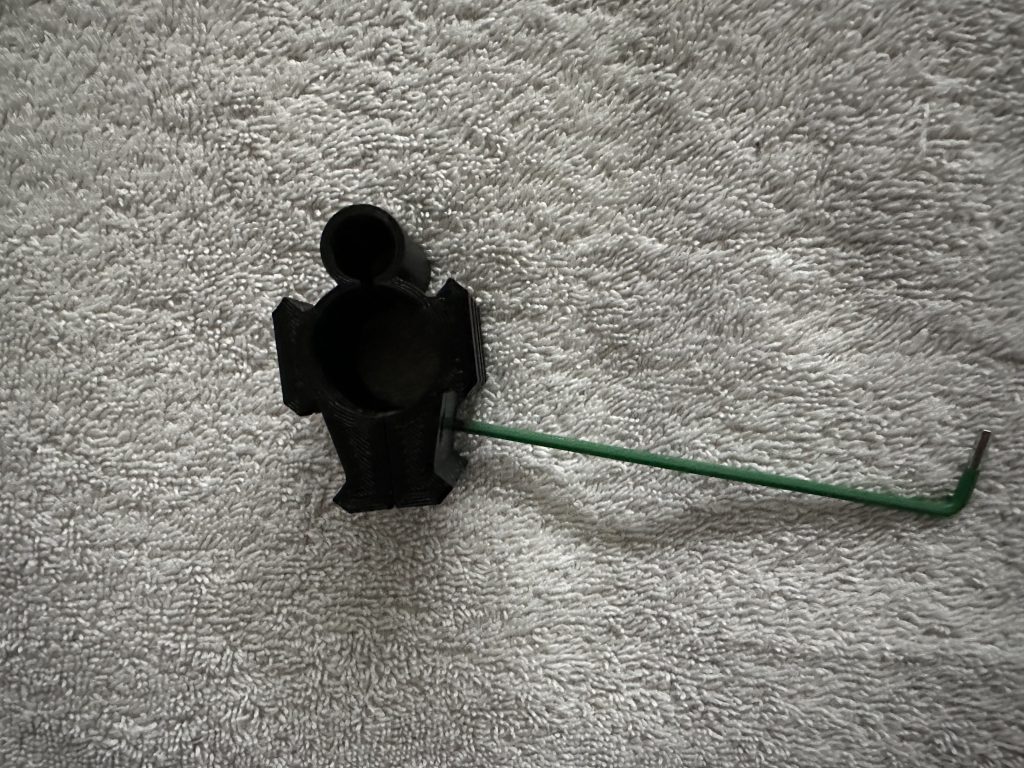
Using the H2.5 Hex Key you will need to loosen the bolts holding the attachment together.
Step 9
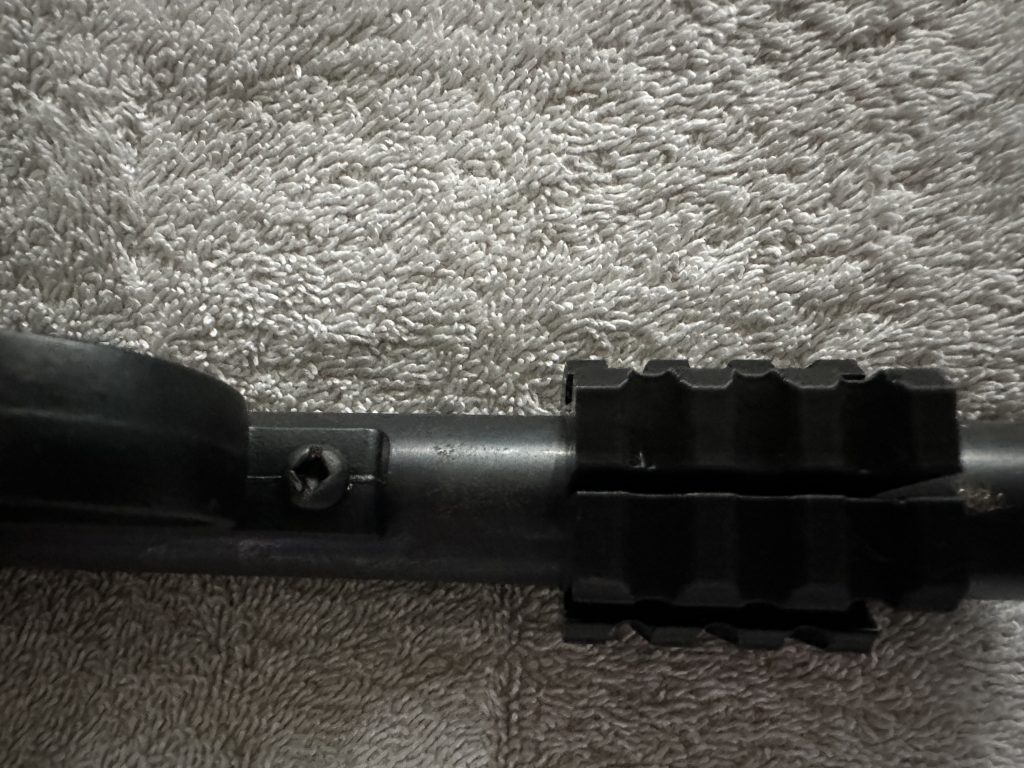
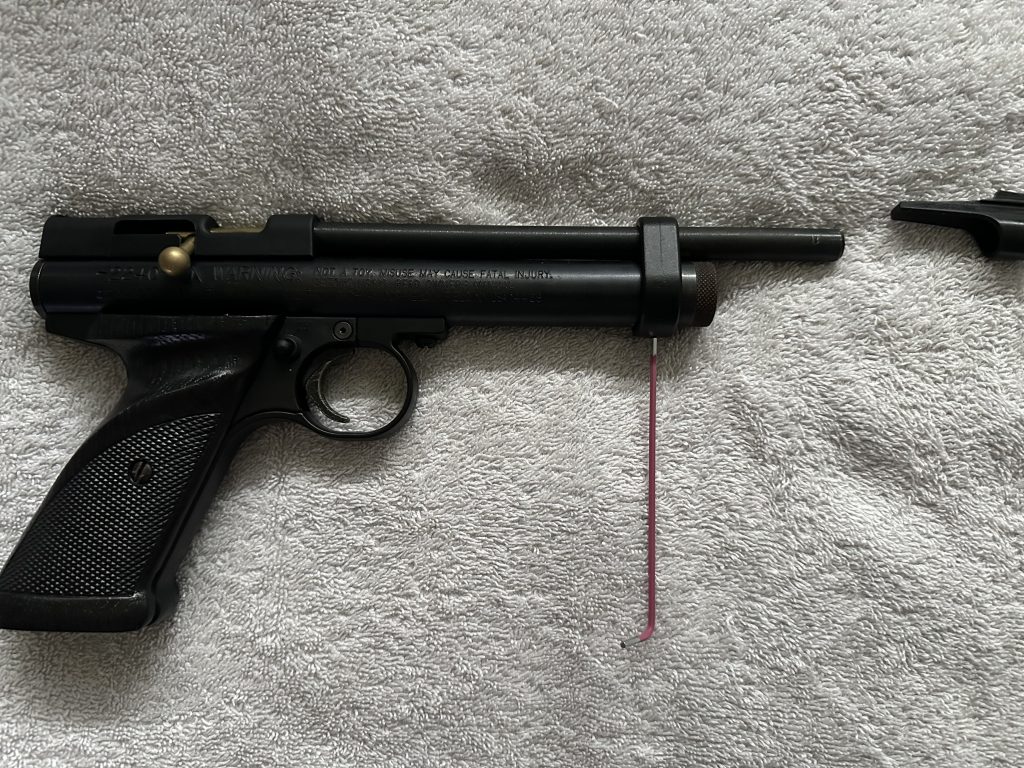
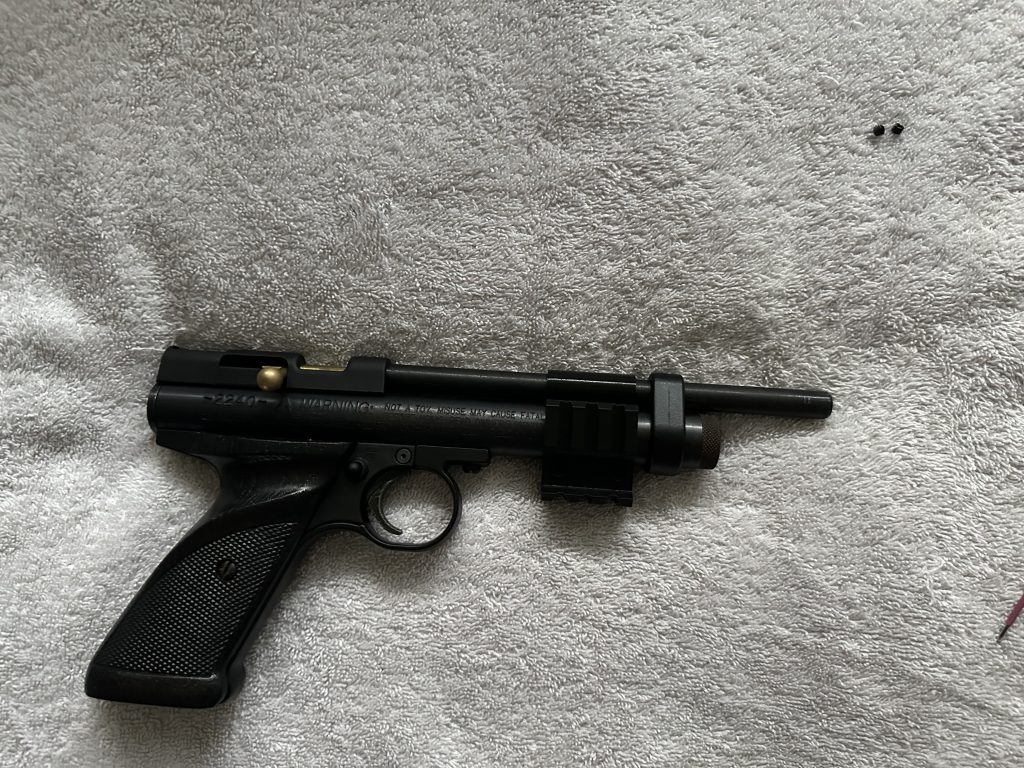
Simply slide the attachment onto your Crosman I would recommend flipping the pistol itself so you can line up the attachment with the line that goes through the screw pictured above.
Step 10
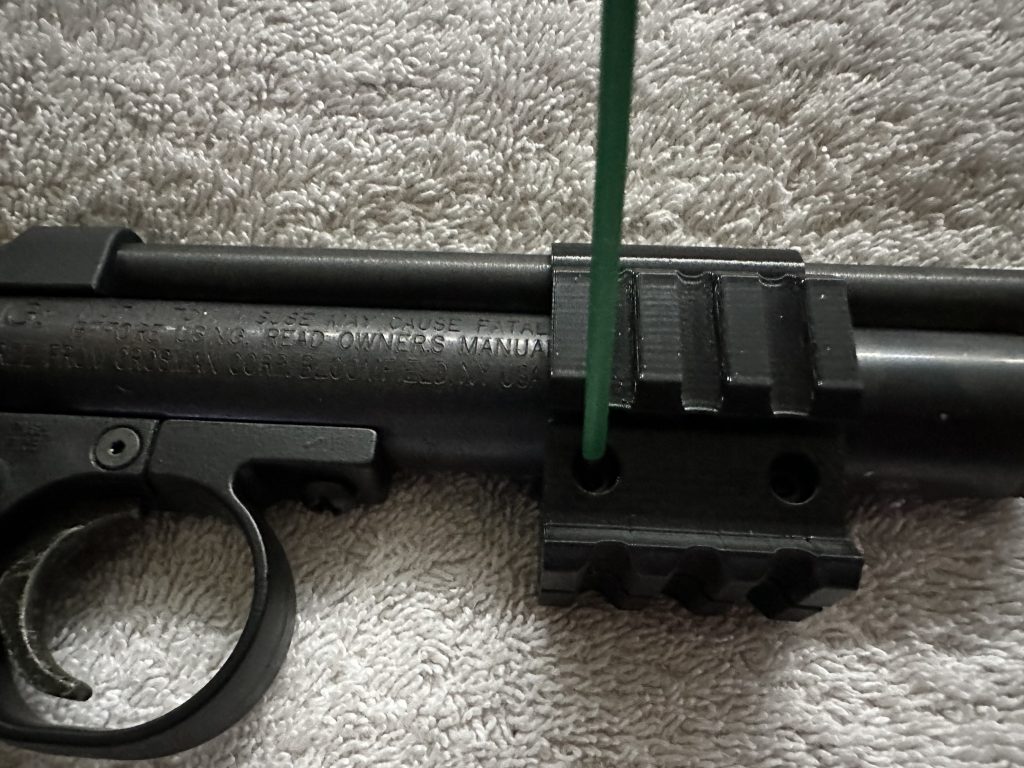
Tighten the bolts using a H2.5 Hex Key
Optional Steps
So the next steps are for reinstalling your barrel band
Step 11
Slide the barrel band back onto the barrel, if you want it to be reattached making sure it does not cover the cap for adding Co2 Cartridge.
Step 12
Fasten the grub screws back in place using your H2.0 Hex Key
Step 13
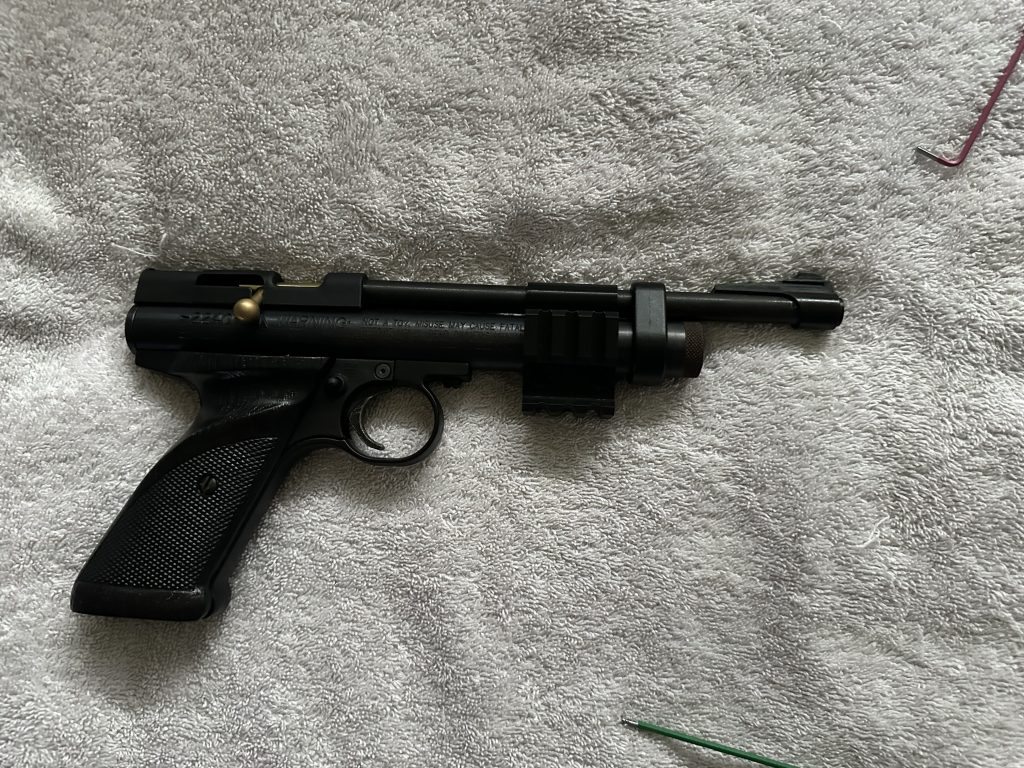
Reattach the foresight and then you have finished attaching the picatinny rail system only thing left todo will be add your attachments.
Hopefully this quick step by step managed to get you through the process smoothly and without issues.